") 基于Open3D的Lidar-Segment
基于Open3D的Lidar-Segment

1. Open3D-ML安裝和使用
首先對(duì)于Open3d,我們要先對(duì)源碼下載
# make sure you have the latest pip version
pip install --upgrade pip
# install open3d
pip install open3d
然后選擇要安裝兼容版本的PyTorch或TensorFlow,Open3d中提供了兩種安裝方式:
# To install a compatible version of TensorFlow
pip install -r requirements-tensorflow.txt
# To install a compatible version of PyTorch with CUDA
pip install -r requirements-torch-cuda.txt
這里作者選擇的是Pytorch,因?yàn)樽髡邔?duì)Pytorch比較熟悉,然后使用下面命令測(cè)試Open3d是否安裝成功
# with PyTorch
python -c "import open3d.ml.torch as ml3d"
# or with TensorFlow
python -c "import open3d.ml.tf as ml3d"
下面我們可以下載數(shù)據(jù)集進(jìn)行測(cè)試了
SemanticKITTI (project page)
Toronto 3D (github)
Semantic 3D (project-page)
S3DIS (project-page)
Paris-Lille 3D (project-page)
Argoverse (project-page)
KITTI (project-page)
Lyft (project-page)
nuScenes (project-page)
Waymo (project-page)
ScanNet(project-page)
這里選擇了SemanticKITTI的數(shù)據(jù)集進(jìn)行測(cè)試
# Launch training for RandLANet on SemanticKITTI with torch. python scripts/run_pipeline.py torch -c ml3d/configs/randlanet_semantickitti.yml --dataset.dataset_path--pipeline SemanticSegmentation --dataset.use_cache True # Launch testing for PointPillars on KITTI with torch. python scripts/run_pipeline.py torch -c ml3d/configs/randlanet_semantickitti.yml --split test --dataset.dataset_path data --pipeline SemanticSegmentation --dataset.use_cache True --batch_size 16
雖然官方提供的predefined scripts非常便捷,但是既然我們裝好了Open3d,那我們就可以通過自己編寫代碼的方式來完成。
2. 基于Open3d的二次開發(fā)
下面將展示如何自己去調(diào)用Open3d的api去寫訓(xùn)練集、測(cè)試集、可視化
模型訓(xùn)練:
import os
import open3d.ml as _ml3d
import open3d.ml.torch as ml3d


cfg_file = "ml3d/configs/randlanet_semantickitti.yml"
cfg = _ml3d.utils.Config.load_from_file(cfg_file)


cfg.dataset['dataset_path'] = "./data"


dataset = ml3d.datasets.SemanticKITTI(cfg.dataset.pop('dataset_path', None), **cfg.dataset)


# create the model with random initialization.
model = ml3d.models.RandLANet(**cfg.model)


pipeline = ml3d.pipelines.SemanticSegmentation(model=model, dataset=dataset,device="cuda:0", **cfg.pipeline)


# prints training progress in the console.
pipeline.run_train()
在這里主要需要側(cè)重關(guān)注的有兩處:cfg_file和cfg.dataset['dataset_path'],這兩處分別是環(huán)境配置和數(shù)據(jù)集設(shè)置。
在randlanet_semantickitti.yml中里面包含了所有需要配置的內(nèi)容
randlanet_semantickitti.yml
dataset:
 name: Semantic3D
 dataset_path: # path/to/your/dataset
 cache_dir: ./logs/cache_small3d/
 class_weights: [5181602, 5012952, 6830086, 1311528, 10476365, 946982, 334860, 269353]
 ignored_label_inds: [0]
 num_points: 65536
 test_result_folder: ./test
 use_cache: true
 val_files:
 - bildstein_station1_xyz_intensity_rgb
 - domfountain_station1_xyz_intensity_rgb
 steps_per_epoch_train: 500
 steps_per_epoch_valid: 10
model:
 name: RandLANet
 batcher: DefaultBatcher
 ckpt_path: # path/to/your/checkpoint
 num_neighbors: 16
 num_layers: 5
 num_points: 65536
 num_classes: 8
 ignored_label_inds: [0]
 sub_sampling_ratio: [4, 4, 4, 4, 2]
 in_channels: 6
 dim_features: 8
 dim_output: [16, 64, 128, 256, 512]
 grid_size: 0.06
 augment:
  recenter:
   dim: [0, 1]
  normalize:
   feat:
    method: linear
    bias: 0
    scale: 255
  rotate:
   method: vertical
  scale:
   min_s: 0.9
   max_s: 1.1
  noise:
   noise_std: 0.001
pipeline:
 name: SemanticSegmentation
 optimizer:
  lr: 0.001
 batch_size: 2
 main_log_dir: ./logs
 max_epoch: 100
 save_ckpt_freq: 5
 scheduler_gamma: 0.9886
 test_batch_size: 1
 train_sum_dir: train_log
 val_batch_size: 2
 summary:
  record_for: []
  max_pts:
  use_reference: false
  max_outputs: 1
模型測(cè)試:
import os
import open3d.ml as _ml3d
import open3d.ml.torch as ml3d


cfg_file = "ml3d/configs/randlanet_semantickitti.yml"
cfg = _ml3d.utils.Config.load_from_file(cfg_file)


model = ml3d.models.RandLANet(**cfg.model)
cfg.dataset['dataset_path'] = "./data"
dataset = ml3d.datasets.SemanticKITTI(cfg.dataset.pop('dataset_path', None), **cfg.dataset)
pipeline = ml3d.pipelines.SemanticSegmentation(model, dataset=dataset, device="cuda:0", **cfg.pipeline)


# download the weights.
ckpt_folder = "./logs/"
os.makedirs(ckpt_folder, exist_ok=True)
ckpt_path = ckpt_folder + "randlanet_semantickitti_202201071330utc.pth"
randlanet_url = "https://storage.googleapis.com/open3d-releases/model-zoo/randlanet_semantickitti_202201071330utc.pth"
if not os.path.exists(ckpt_path):
  cmd = "wget {} -O {}".format(randlanet_url, ckpt_path)
  os.system(cmd)


# load the parameters.
pipeline.load_ckpt(ckpt_path=ckpt_path)


test_split = dataset.get_split("test")
print("len%d",test_split)
data = test_split.get_data(0)


# run inference on a single example.
# returns dict with 'predict_labels' and 'predict_scores'.
result = pipeline.run_inference(data)


# evaluate performance on the test set; this will write logs to './logs'.
pipeline.run_test()
在模型測(cè)試中和模型訓(xùn)練一樣也需要cfg_file和cfg.dataset['dataset_path'],但是同時(shí)需要加入ckpt_path作為訓(xùn)練模型的導(dǎo)入。
模型可視化
import os
import open3d.ml as _ml3d
import open3d.ml.torch as ml3d


cfg_file = "ml3d/configs/randlanet_semantickitti.yml"
cfg = _ml3d.utils.Config.load_from_file(cfg_file)
cfg.dataset['dataset_path'] = "./data"
# construct a dataset by specifying dataset_path
dataset = ml3d.datasets.SemanticKITTI(cfg.dataset.pop('dataset_path', None),**cfg.dataset)


# get the 'all' split that combines training, validation and test set
all_split = dataset.get_split('test')


# print the attributes of the first datum
print(all_split.get_attr(0))


# print the shape of the first point cloud
print(all_split.get_data(0)['point'].shape)


# show the first 100 frames using the visualizer
vis = ml3d.vis.Visualizer()
vis.visualize_dataset(dataset, 'all', indices=range(100))
模型可視化就沒什么好說的了,基本上和上述兩種差不不多,只是使用了ml3d.vis.Visualizer()做了可視化。
3. 如何理解SemanticKITTI數(shù)據(jù)集
KITTI Vision Benchmark 的里程計(jì)數(shù)據(jù)集,顯示了市中心的交通、住宅區(qū),以及德國卡爾斯魯厄周圍的高速公路場(chǎng)景和鄉(xiāng)村道路。
原始里程計(jì)數(shù)據(jù)集由 22 個(gè)序列組成,將序列 00 到 10 拆分為訓(xùn)練集,將 11 到 21 拆分為測(cè)試集。
SemanticKITTI數(shù)據(jù)集采用和 KITTI 數(shù)據(jù)集相同的標(biāo)定方法。這使得該數(shù)據(jù)集和kitti數(shù)據(jù)集等數(shù)據(jù)集可以通用。
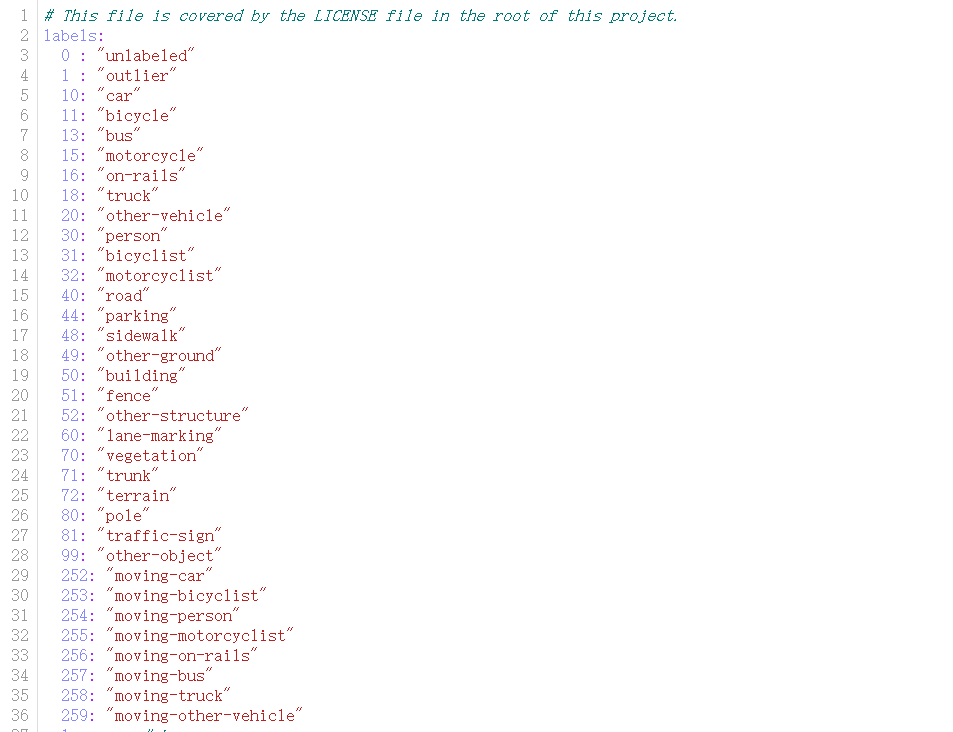
該數(shù)據(jù)集中對(duì)28個(gè)類進(jìn)行了注釋,確保了類與Mapillary Visiotas數(shù)據(jù)集和Cityscapes數(shù)據(jù)集有很大的重疊,并在必要時(shí)進(jìn)行了修改,以考慮稀疏性和垂直視野。
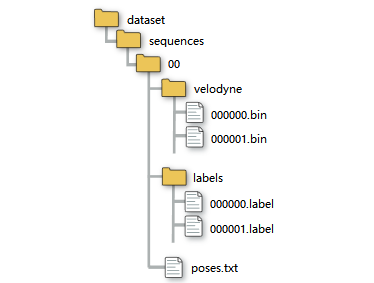
bin文件中存儲(chǔ)著每個(gè)點(diǎn),以激光雷達(dá)為原點(diǎn)的x,y,z,i信息,其中i是強(qiáng)度。
把數(shù)據(jù)提取出來也很簡(jiǎn)單。用numpy庫。提取出來就是一個(gè)n行4列的矩陣。
points = np.fromfile(".bin文件路徑", dtype=np.float32).reshape(-1, 4)
接下來就是.label文件,在KITTI API的github中能找到說明。
里面東西也挺多的,主要就看.label那部分。
在remap_semantic_labels.py文件中。終于知道,label中每個(gè)值表示什么了。
在config目錄下的semantic-kitti.yaml文件中。
 label = np.fromfile(".label文件路徑", dtype=np.uint32)
 label = label.reshape((-1))
我們還區(qū)分了移動(dòng)和非移動(dòng)車輛與人類,即,如果車輛或人類在觀察時(shí)在某些掃描中移動(dòng),則會(huì)獲得相應(yīng)的移動(dòng)類別。
下圖列出了所有帶注釋的類,補(bǔ)充材料中可以找到對(duì)不同類的更詳細(xì)討論和定義。
總之,我們有28個(gè)類別,其中6個(gè)類別被指定為移動(dòng)或非移動(dòng)屬性
每個(gè)velodyne文件夾下的xxxx.bin文件為每次掃描的原始數(shù)據(jù),每個(gè)數(shù)據(jù)點(diǎn)的標(biāo)簽的二進(jìn)制表示儲(chǔ)存在文件xxxx.label中。
每個(gè)點(diǎn)的標(biāo)簽是32位無符號(hào)整數(shù)(也稱為’uint32_t’),其中較低的16位對(duì)應(yīng)于標(biāo)簽。
較高位對(duì)應(yīng)了16位編碼實(shí)例id,該id在整個(gè)序列中時(shí)間上是一致的,即兩次不同掃描中的同一對(duì)象獲得相同的id。
這也適用于移動(dòng)車輛,但也適用于環(huán)路閉合后看到的靜態(tài)對(duì)象。
這里是開源SemanticKITTI的API。功能包括但不限于:可視化、計(jì)算IOU等。按照腳本的介紹即可完成使用。
審核編輯:湯梓紅
-
開源
+關(guān)注
關(guān)注
3文章
4204瀏覽量
46130 -
源碼
+關(guān)注
關(guān)注
8文章
685瀏覽量
31319 -
pytorch
+關(guān)注
關(guān)注
2文章
813瀏覽量
14850
原文標(biāo)題:基于Open3D的Lidar-Segment
文章出處:【微信號(hào):vision263com,微信公眾號(hào):新機(jī)器視覺】歡迎添加關(guān)注!文章轉(zhuǎn)載請(qǐng)注明出處。
發(fā)布評(píng)論請(qǐng)先 登錄
淺談SiPM 傳感器在汽車 LiDAR的應(yīng)用
LiDAR如何構(gòu)建3D點(diǎn)云?如何利用LiDAR提供深度信息
Atmel Segment LCD1用戶指南
TriLumina將推出940nm VCSEL照明,包羅3D LiDAR系統(tǒng)
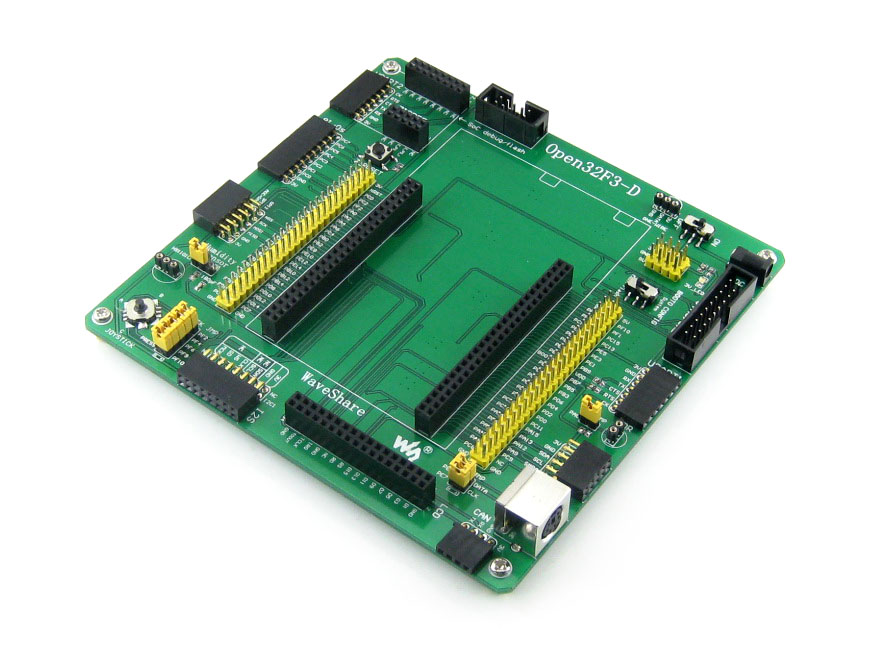
微雪電子STM32開發(fā)板 Open32F3-D簡(jiǎn)介
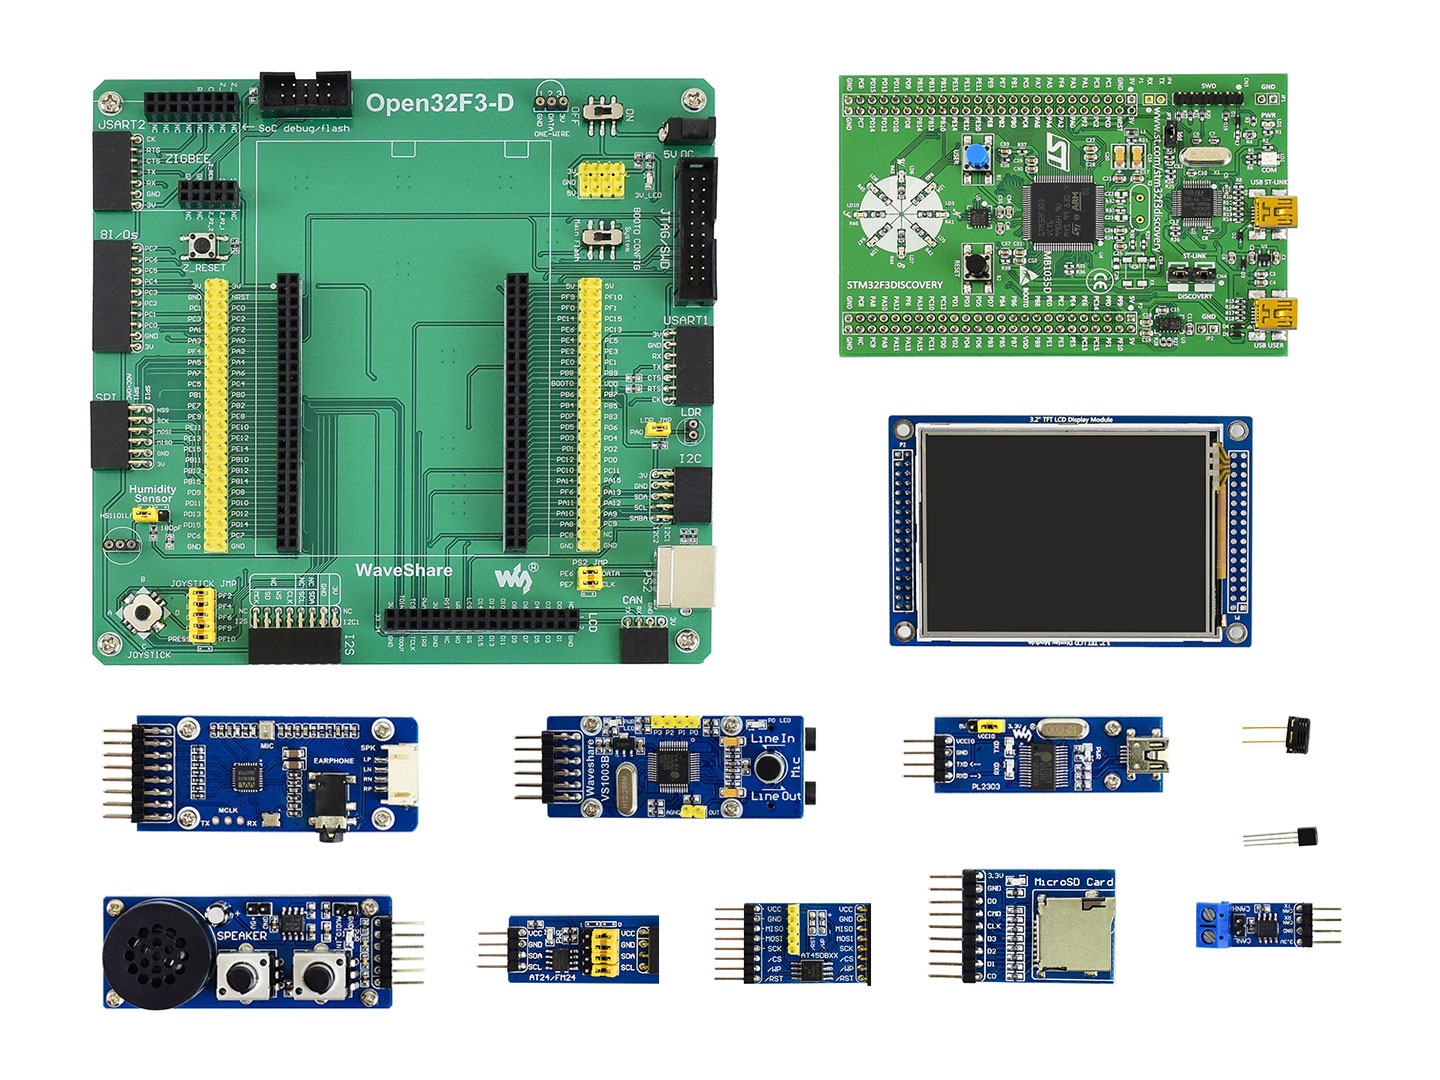
微雪電子STM32開發(fā)板 Open32F3-D簡(jiǎn)介
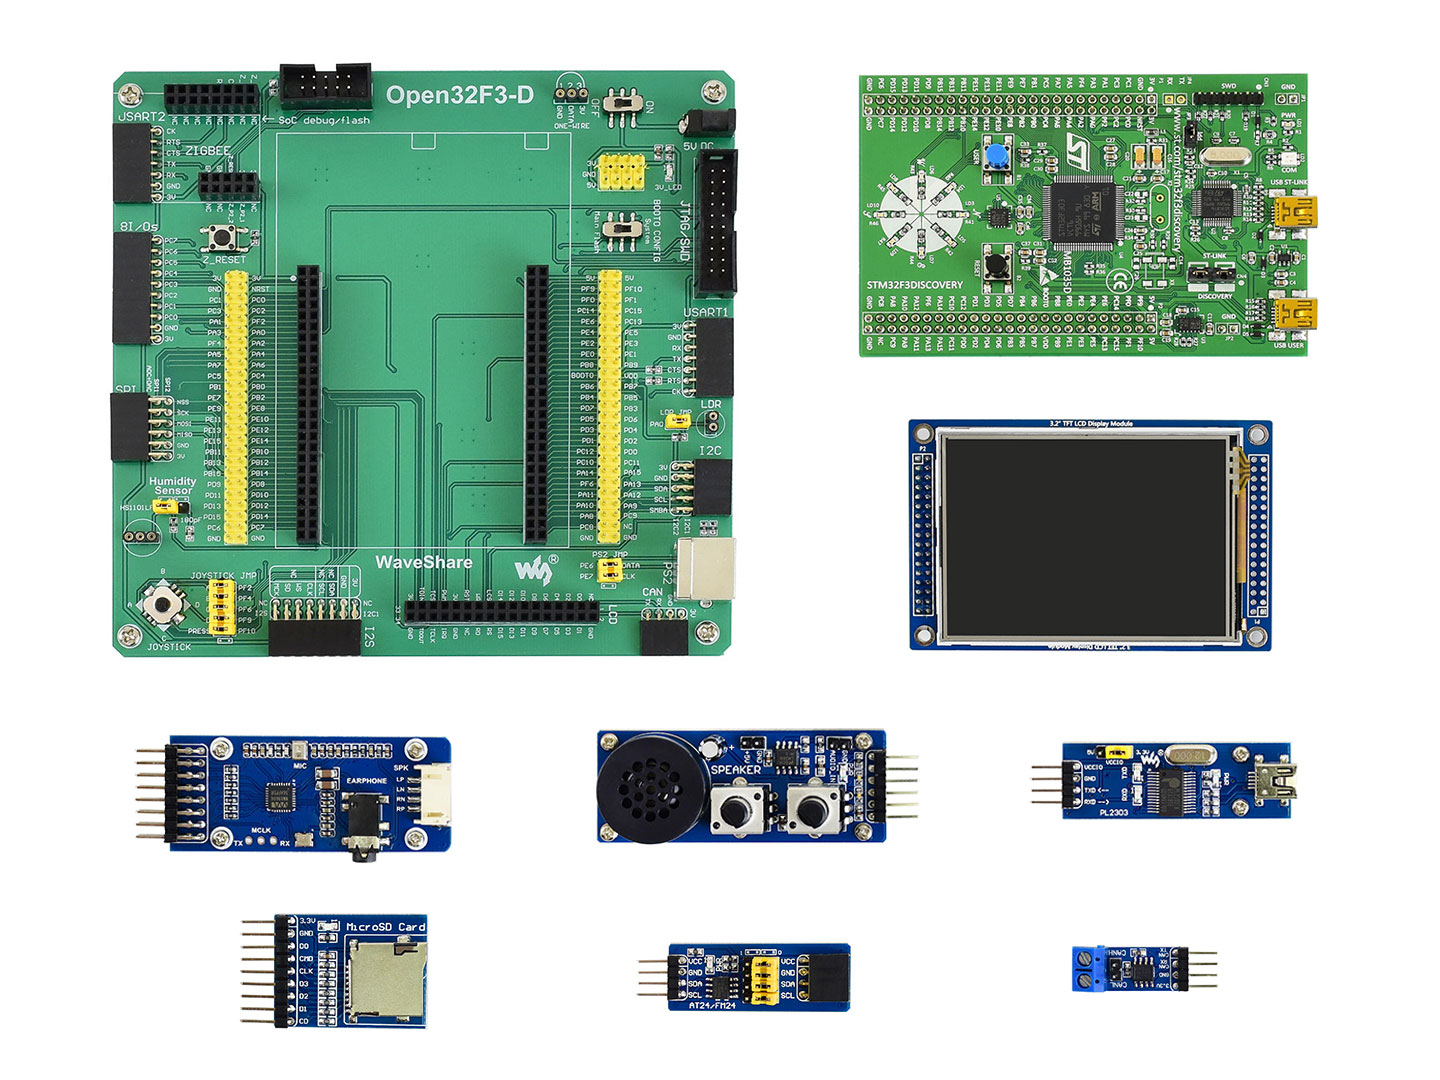
微雪電子STM32開發(fā)板 Open32F3-D簡(jiǎn)介
日本Konami與假Open Bionic合作,推出了一款3D打印的仿生手臂
如何在LiDAR點(diǎn)云上進(jìn)行3D對(duì)象檢測(cè)

Quanergy和PARIFEX合作發(fā)布基于3D LiDAR的超速抓拍系統(tǒng)
3D LiDAR 社交距離解決方案

徹底搞懂基于Open3D的點(diǎn)云處理教程!

應(yīng)用于機(jī)器人3D感知的高精度LiDAR與電機(jī)驅(qū)動(dòng)解決方案
基于LiDAR的行人重識(shí)別的研究分析


 工商網(wǎng)監(jiān)
評(píng)論